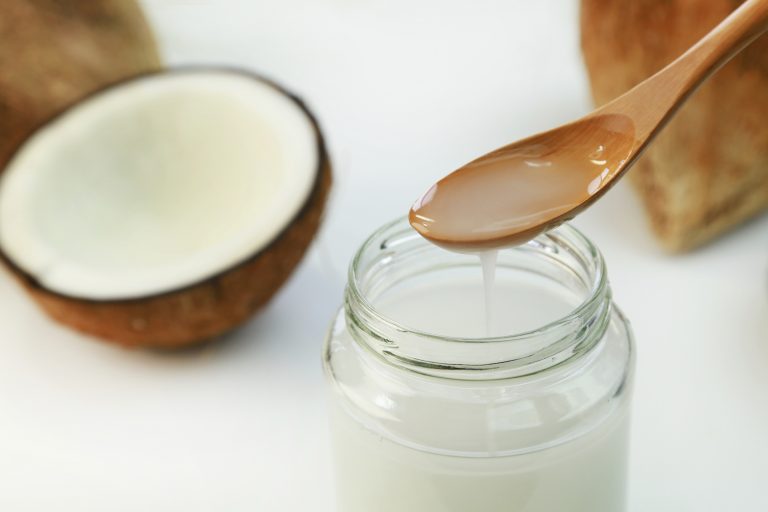
DIY Using Milk Paint
February 6, 2017
Over the past year I have completed several projects using milk paint. I turned my bedroom furniture from a light-golden oak color to a rich dark-brown shade. This task involved painting two towers on either side of the bed, two dressers, and a TV stand. Without the milk paint, this project would have taken weeks, because I would have had to sand everything down before applying the paint. With two coats of milk paint and some furniture wax, my bedroom no longer looks like it hails from the 90’s!
The second project was changing the look of my hutch. It was originally an oak color with a heavy polyurethane finish. I thought the finish might be too much and the paint wouldn’t adhere, so I started to sand it. After realizing that sanding would take me forever, I once again relied on the bonding agent in milk paint. For this project, after applying a coat I took a damp rag and wiped off some of the paint, so it looked like a true antique piece. I absolutely love my hutch now!
What is Milk Paint?
Milk paint is a nontoxic water-based paint made from milk and lime. Pigmentation provides the color. Milk paint is all-natural, and safer than regular paint.
While milk paint is a little more expensive than an oil or acrylic paint, it is well worth the extra money. You buy it in powder form and mix it with water, allowing you to use as much or as little as you want without wasting paint. You can also mix it as thick or thin as you want, depending on whether you want a solid paint or a light stain.
I purchased my milk paint from Miss Mustard Seed. In fact, I painted my hutch using just the sample packs (I mixed the dried lavender with the bergere to create a blue/gray color). I also purchased the bonding agent and the furniture wax.
TIP: I found that the paint separated and the pigments settled at the bottom, which altered the color slightly. To prevent separation, simply stir paint every ten minutes or so.
Bonding Agent
You do not need to do much preparation if you use milk paint with bonding agent. As I said earlier, I didn’t need to do any sanding! All you have to do is mix the bonding agent into the paint, and it acts like a primer, adhering to every type of surface. The amount of bonding agent you use is up to you, and will depend on the surface of the piece of furniture and the look you want to create.
Furniture Wax
Since milk paint creates a porous surface, it is always wise to put a coat of furniture wax or hemp oil on top to protect both the paint and the piece. I found that the wax made the color appear richer; it also leaves a satiny look. Wax is thick so it is easier to apply with a rag than a paint brush. Just rub it in and then give it a good buff.
Hemp oil leaves a sheen, for a semi-gloss or gloss surface. You can use a brush or a rag to apply the oil. Let it soak in for about 30 minutes and then wipe off the excess.
TIP: Don’t be discouraged by the color when you first apply the milk paint. Coating it with furniture wax will make the color much brighter.
I have a coffee table, matching end tables, and a dining room set that I want to paint next. I’m having trouble deciding what to do with them. Please send me some of your DIY furniture pics and ideas!


